
DIY Guide: Preparing Your Home for Fiber Installation
Fiber internet offers unmatched speed, reliability, and efficiency, but before you can enjoy its benefits, proper preparation for installation is essential. While your internet service provider (ISP) handles the technical aspects, you can streamline the process by preparing your home in advance. This guide will walk you through the steps to ensure a smooth and hassle-free fiber installation.
1. Understand the Installation Process
Before diving into preparations, it’s important to know what the fiber installation process entails:
- Fiber Line Installation: The technician will bring a fiber-optic cable from the nearest distribution point to your home. This may involve underground or overhead wiring.
- Optical Network Terminal (ONT): The ONT is installed inside your home to convert fiber signals into internet service.
- Router Setup: A compatible router is connected to the ONT for Wi-Fi distribution.
2. Check for Fiber Availability
Confirm that fiber internet is available in your area.
- Contact Your ISP: Check with local providers to ensure your home is within the service range.
- Verify Property Access: If you live in an apartment or shared property, get approval from the landlord or homeowners’ association for installation.
3. Choose the Ideal Installation Location
Selecting the right location for your fiber equipment ensures optimal performance and convenience.
- Centralized Location: Choose a central spot in your home for the ONT and router to ensure even Wi-Fi coverage.
- Proximity to Power Outlets: Ensure the chosen spot has easy access to power outlets.
- Avoid Obstructions: Keep the area free of large furniture or appliances that could interfere with signal strength.
4. Clear the Installation Path
Prepare your home by clearing the path where the fiber cable will be installed.
- Exterior Pathway: Trim overgrown vegetation near utility poles or underground cable paths.
- Interior Pathway: Clear hallways and entry points to provide easy access for technicians.
- Identify Cable Entry Points: If possible, identify where the cable will enter your home (e.g., existing utility conduits or wall entry points).
5. Ensure Access to Utility Areas
Technicians may need access to certain areas of your home, such as:
- Utility Boxes: Clear any obstructions around external utility boxes or junction points.
- Basements or Crawlspaces: If the cable runs through these areas, ensure they are clean and accessible.
- Attics: If the fiber line must pass through the attic, remove clutter to provide safe access.
6. Check Your Existing Network Setup
Review your current home network to ensure a seamless transition to fiber.
- Router Compatibility: Verify if your existing router supports fiber internet. If not, your ISP may provide one, or you can purchase a compatible model.
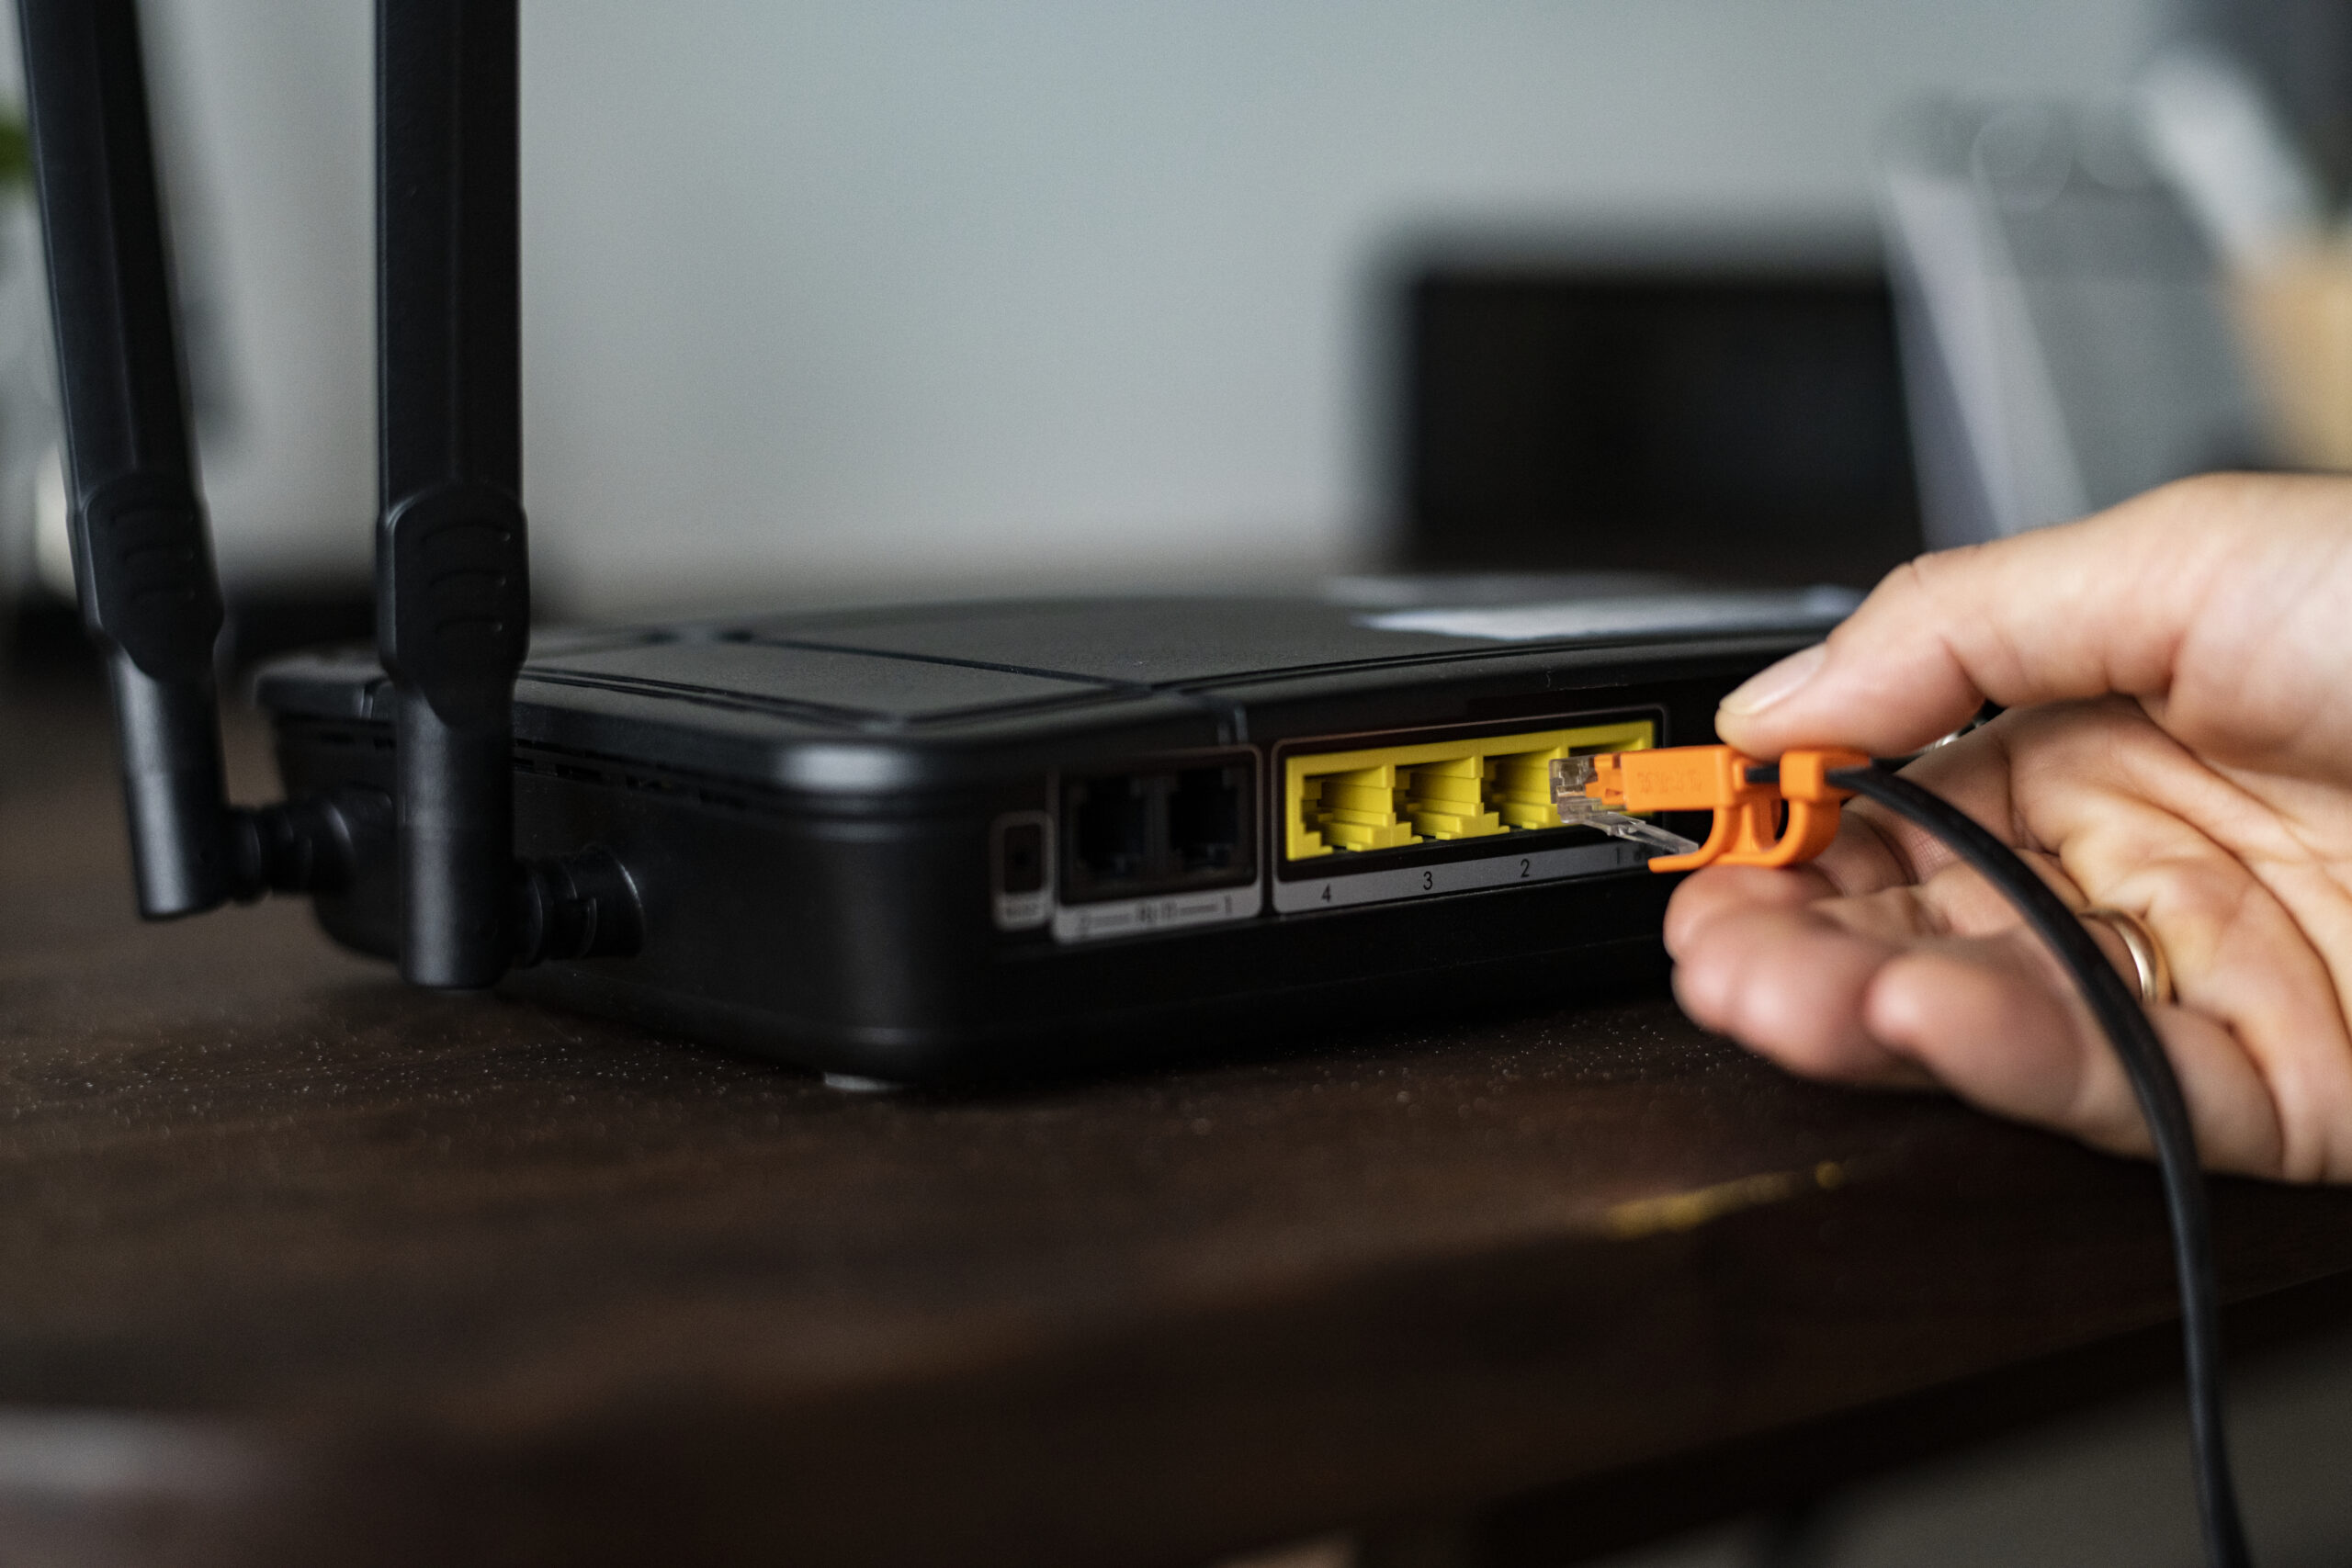
- Ethernet Wiring: If you prefer wired connections, check if your home has Ethernet cabling or consider installing it for devices like gaming consoles and PCs.
7. Prepare for Power Backup
Fiber internet relies on electrical power for the ONT and router. Prepare for power outages to avoid service interruptions.
- Uninterruptible Power Supply (UPS): Consider investing in a UPS to keep your internet running during outages.
- Battery Backup for ONT: Some ISPs provide battery backup units for ONTs; inquire about this option if it’s available.
8. Communicate Special Requirements to Your ISP
Inform your ISP about any unique needs or conditions that may affect the installation process.
- Custom Cable Routing: If you prefer the fiber cable to follow a specific route, discuss this with the technician in advance.
- Additional Devices: Notify the ISP if you plan to connect multiple devices or smart home systems requiring special configurations.
9. Be Present on Installation Day
Being available during the installation process ensures everything goes according to plan.
- Provide Guidance: Show the technician the preferred location for the ONT and router.
- Ask Questions: Use this opportunity to ask about the equipment, setup, or troubleshooting tips.
- Test the Connection: Once installation is complete, test the internet speed and coverage with the technician present.
10. Post-Installation Tips
After installation, take these steps to optimize your new fiber connection:
- Secure Your Network: Set up a strong Wi-Fi password to protect your network.
- Optimize Router Placement: Adjust the router’s position for the best signal strength and coverage.
- Update Connected Devices: Ensure all connected devices are updated to take full advantage of the fiber speeds.
Common Challenges and Solutions
Here are a few potential hurdles and how to overcome them:
- Limited Access to Utility Areas: Notify the technician if any areas are locked or require special access.
- Old Wiring Issues: If your home has outdated wiring, discuss upgrade options with your ISP.
- Signal Dead Zones: For larger homes, consider adding a Wi-Fi extender or mesh network to eliminate dead zones.
Conclusion
Preparing your home for fiber installation ensures a smooth transition to faster, more reliable internet. By following this DIY guide, you can minimize delays, optimize equipment placement, and make the most of your fiber connection from day one.
Fiber internet is a game-changer for work, entertainment, and smart home integration—so take these steps to get your home ready and start enjoying the benefits of high-speed connectivity!
Add Comment